Getting Adobe Dreamweaver and Photoshop on Linux
A relatively in depth guide for aquiring Adobe software on Linux.
INFO
The main purpose for this guide is to assist students who use Linux, are studying a IT Course and require Adobe Dreamweaver and Photoshop for their course. For this reason some parts of this guide will include information specific to Students and can be ignored if not applicable to you
This guide will be split into 4 parts:
Let's get started then!
Installing VirtualBox
If you don't have VirtualBox already setup on your system pick your Linux distro below and follow the proceeding guide.
Note
Make sure to install the Guest Additions for Virtualbox on your distro.
If you have issues installing VirtualBox try researching guides for your distrobution.
NixOS
For my fellow NixOS users just add the following to your configuration.nix
You don't need to add the guest.enable option as on NixOS the host modules have the guest iso prepackaged
virtualisation = {
virtualbox.host.enable = true;
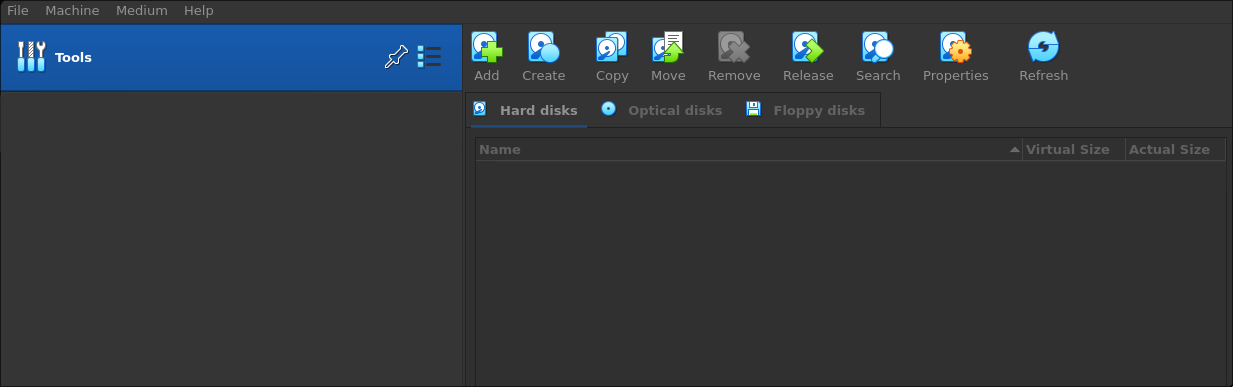
};Once you have VirtualBox working and your have opened it, It should look like this and you are ready to move onto installing Windows.
Installing Windows
From the top left hover over Machine and click New
In the name section your can put whatever but for the sake of the guide I'll just call it "Windows11"
Before going any further head over to Microsoft and download the Windows 11 ISO. For the language just select English US or International.
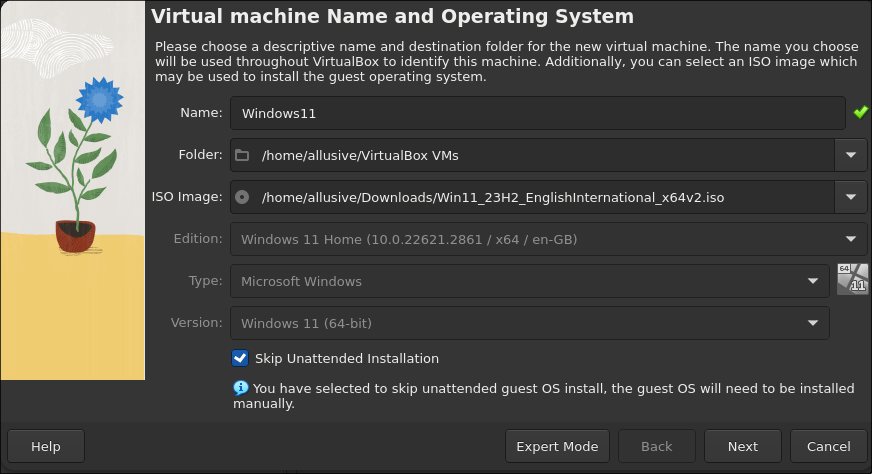
Once you have the ISO head back to the VM creation screen and click the dropdown at the end of ISO Image and click Other. Then choose your ISO and check the Skip Unattended Installation box. It should look something like this, then click Next.
In the next screen set the amount of memory to half or 3/5 of your maximum memory. So if you have 32GB don't use anymore than 22GB. If you have 16GB don't use anymore than 10GB.
For CPU just use half of the bar. So if it says 12 is the max just use 6, but if you think your computer isn't very strong then only use 4. Same applies for lower and higher values
With that page done click Next and on the Storage page don't change anything except for the GB value for the size of the virtual disk. Make sure to check how much space you have on your harddrive before assigning an amount here. As a basis try to use at least 70GB, if you can't fit that on your harddrive try going back to the first screen and changing the location of the VirtualMachine to another drive that has space.
Afterwords just click Next and then Finish!
Setting Up Windows
Now that your Windows Virtual Machine is initialized just start the virtual machine.
Once you see something along the lines of "Press any key to run DVD/CD" do as it says. You should boot into the Windows installer.
INFO
You don't need a Windows product key and can just click "I don't have a product key" in the setup.
From there its as simple as going through the process, choose Windows 11 Home, once you get asked for Upgrade or Custom, click custom and select the single avaliable drive.
TIP
If you don't want to use a Microsoft account once you get to that section simply put in no@thankyou.com for the username and something random for the password. You should get redirected to a page where you can just use a local account. When it asks for security questions you can't skip it, keep that in mind.
After a while you should be in Windows, start off by installing your preffered browser through Microsoft Edge.
Windows Debloat Script
Download the debloat script here. It will start downloading an .zip with a .bat file inside. Extract the archive and run the .bat file by double clicking it. Follow the prompts with the default settings. Looking for more information about this script? Go here.
Still in Windows click "Devices" from the menu bar of VirtualBox and click "Insert Guest Additions CD". Open File Explorer and open the new CD Drive, double click "VBoxWindowsAdditions.exe" and go through the setup. This may restart the system and the display. Once your back in you will probably want to make the resolution larger, in the VirtualBox menu > View > Virtual Screen 1 > Resize to your-desired-resolution.
INFO
Quick note, don't use the fullscreen toggle from VirtualBox, it makes the screen black. Use your WM's fullscreen toggle.
Getting Creative Cloud and Apps
From here its pretty simple, head over to Adobe's website, sign-in to your account (for Students use your schooling account) and download Creative Cloud Desktop.
From Creative Cloud install Photoshop or Dreamweaver and have fun developing!
INFO
Photoshop will give an error saying incompatable GPU but it will still work after clicking "Ok".